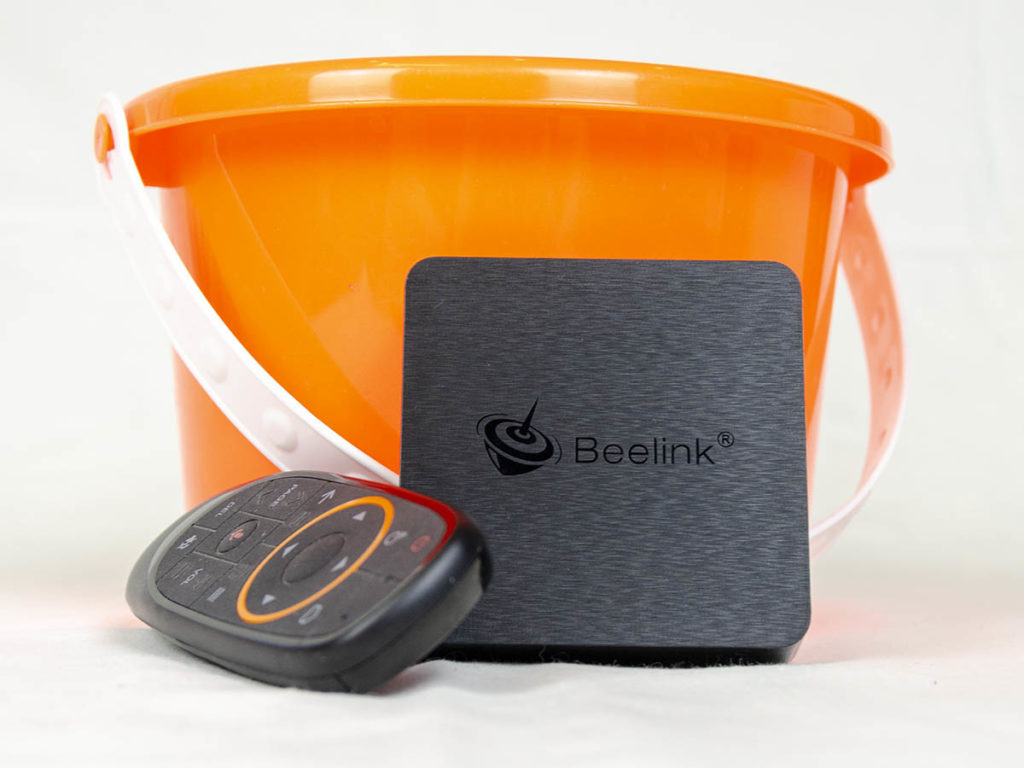
Recently, Beelink has posted the latest firmware update (v201P0) for GT1 Mini 2 Amlogic S905X3 TV Box. This firmware solves a couple of the existing issues, specifically utilizing all four cores.
Beelink GT1 Mini 2 Amlogic specifications
- CPU – Amlogic S905X3 quad-core Arm Cortex-A55 processor @ 1.9 GHz
- GPU – Arm Mali-G31MP2
- Memory – 4GB DDR4 RAM
- Storage – 64GB eMMC flash, Micro SD slot
- Video & Audio Output
- HDMI 2.1 up to 4K @ 75 Hz with HDCP 2.2, 3D, ALLM (Auto low latency mode) support
- 3.5mm AV jack for composite video (480i/576i) and stereo audio
- Video Playback
- 10-bit H.265 up to 4K @ 60fps, VP9 Profile-2 up to 4K @ 60fps, AVS2-P2 up to 4K @ 60fps, H.264/AVC up to 4K @ 30fps, H.264 MVC up to 1080p60, MPEG-4 ASP up to 1080p60 (ISO-14496), etc..
- HDR – Dolby Vision optional, HDR10+, HDR10, HLG, and PRIME HDR processing
- Connectivity – Gigabit Ethernet, dual-band 802.11 b/g/n/ac WiFi 5, Bluetooth 4.0
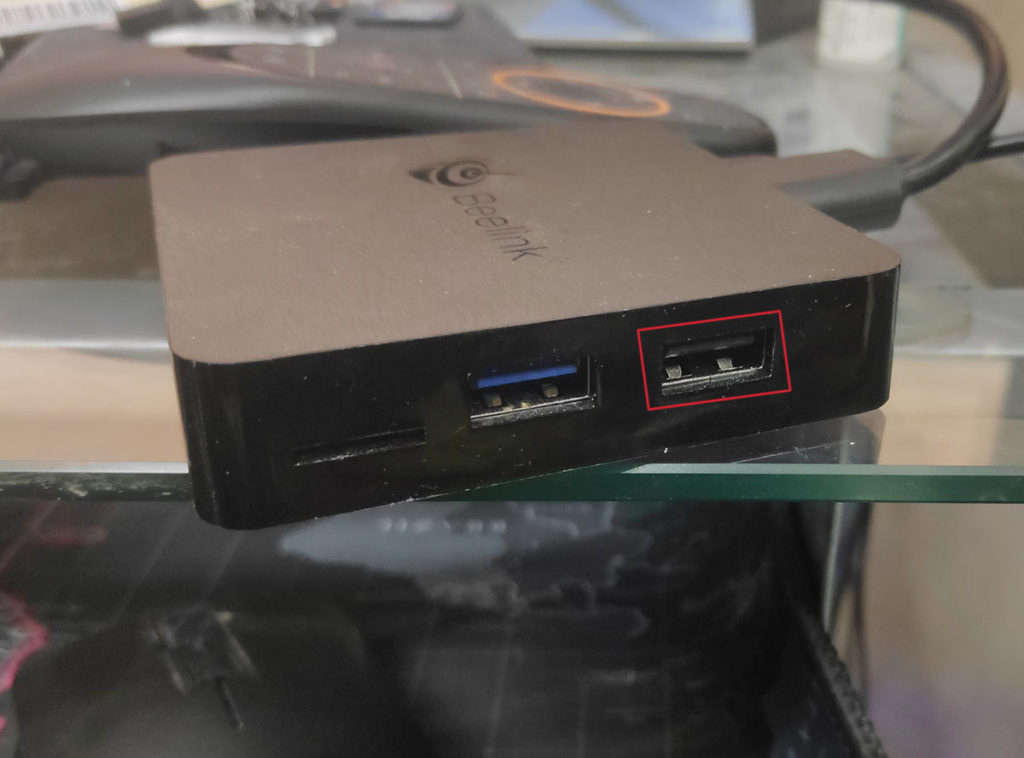
- USB – 1x USB 3.0 port, 1x USB 2.0 port
- Misc – Digital LED display on front panel, upgrade pinhole
- Power Supply – 5V/2A
- Dimensions – 77 x 77 x 17mm
- Weight – 120 grams
How to make Beelink GT1 Mini 2 firmware upgrade
We’ll need the following:
1. Latest firmware update (v201P0). Download here.
2. USB_Burning_Tool v2.1.6.8. Download here;
3. USB male to male cable;
How to make USB male to male cable for Beelink Brush tool firmware upgrade
It’s quite easy. I’m pretty sure every one of us has some old USB cables that we don’t use anymore.
I used some very old Motorola and Nokia cables.
Cut the cables and leave only males ends with about 20cm tails.
Then, cut the singles wires and twist them by colors:
- Red with Red;
- Black with Black;
- Blue with Blue;
- White with White;
Before starting upgrade take note that ALL data will be erased!
Now install the USB burning tool and start it as Administrator.
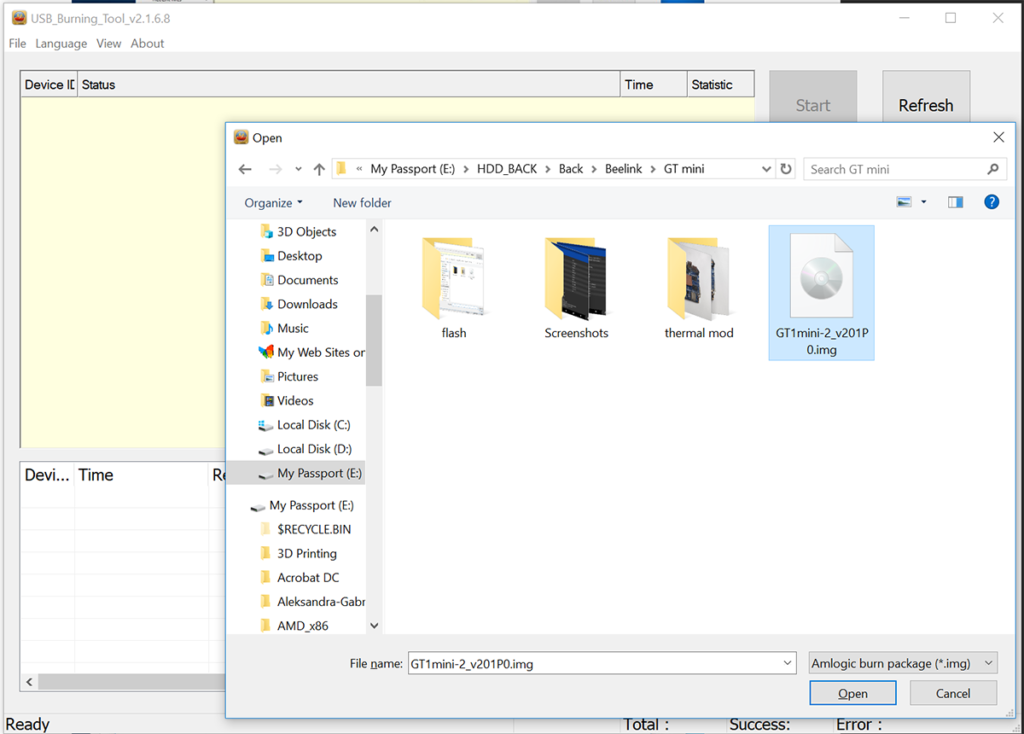
Load the already downloaded image file:
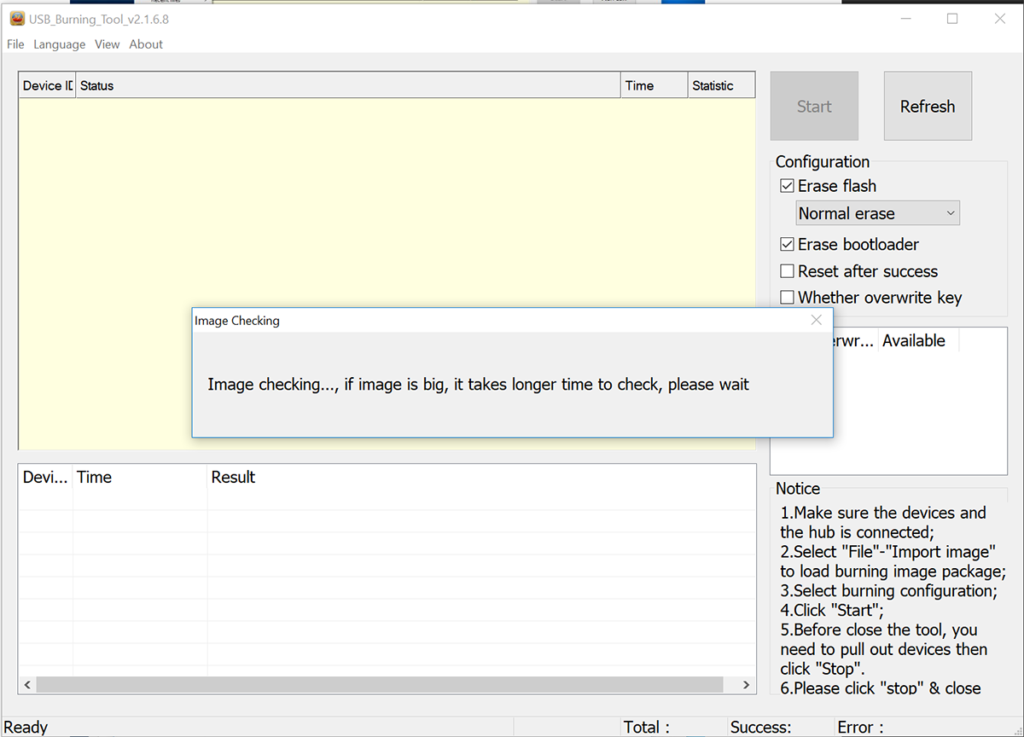
Wait for the tool for checking the image:
Now press START and plug the USB on your PC. Hold the other end of the cable in one hand and the power plug on the other hand.
You need to plug the cable simultaneously in the USB and plug port:
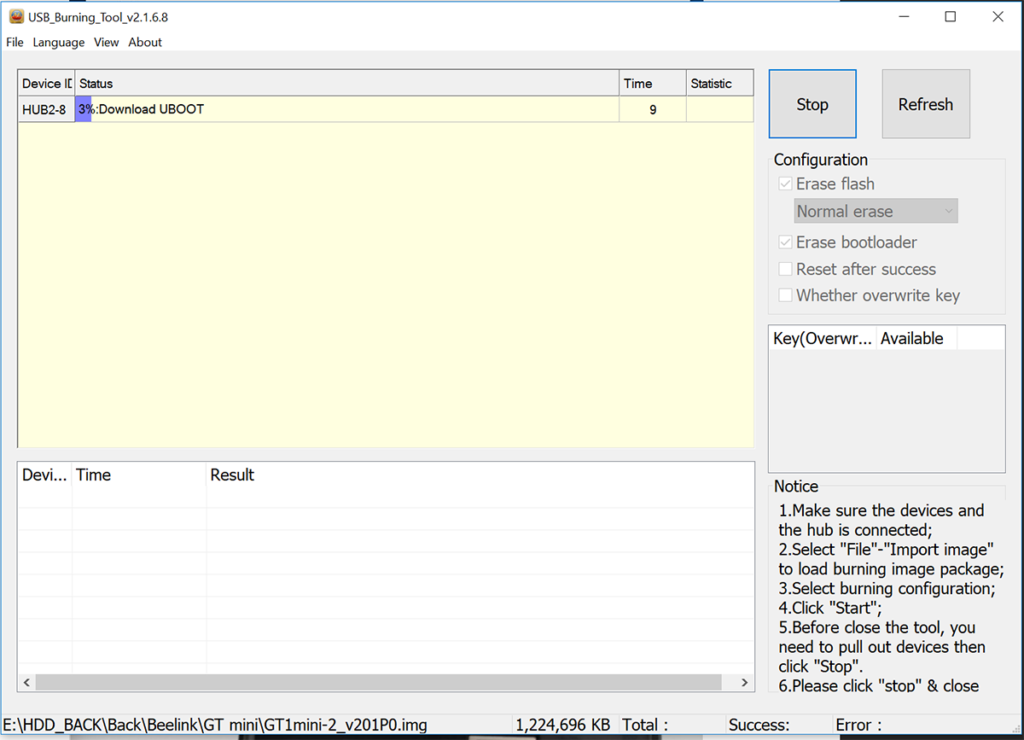
In the Brushing tool window you’ll see that the boot is erasing:
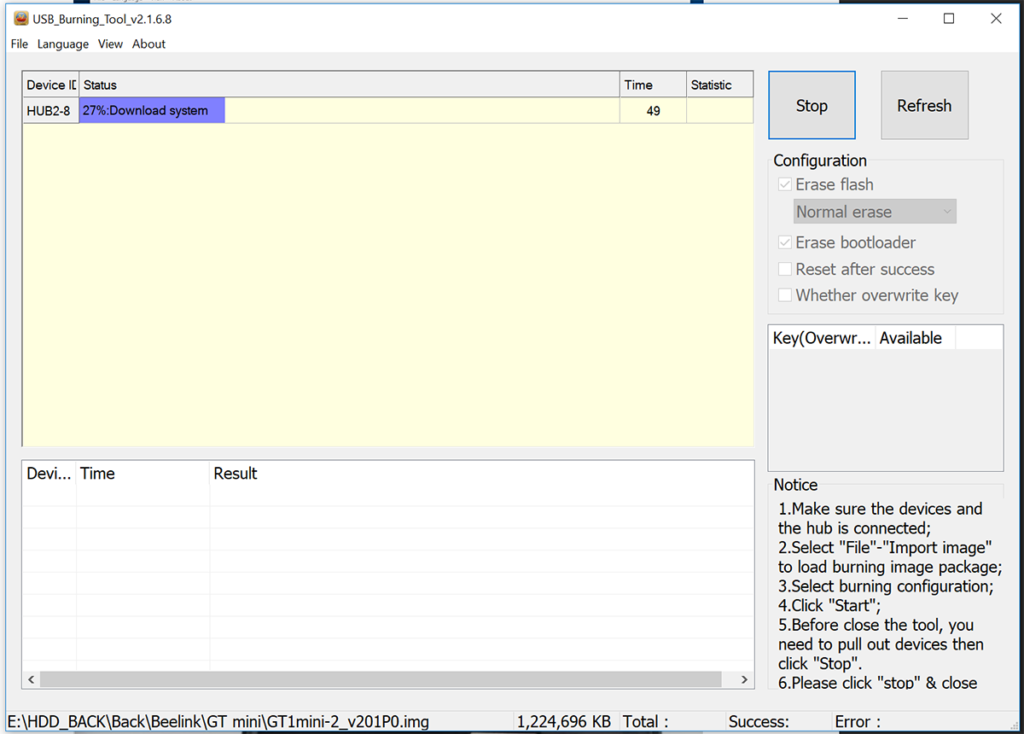
Wait to flash the whole parts of the image:
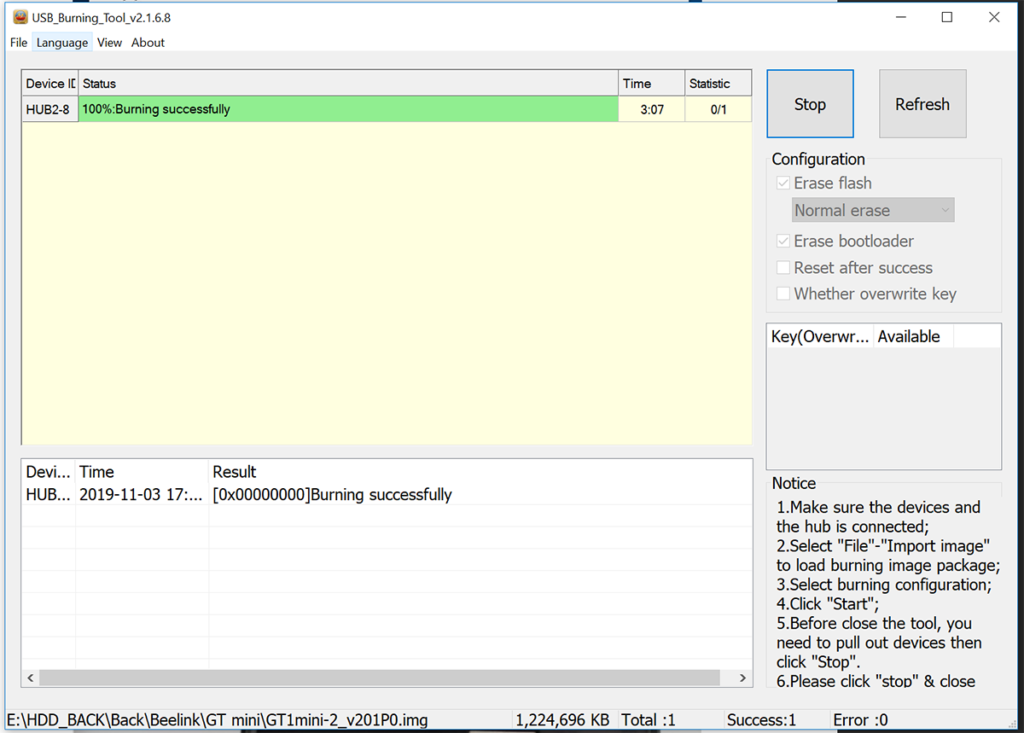
And in about 5min you should see a success message:
Unplug the cables, plug HDMI and power cable and wait for another 5min.
Congrats! Your Beelink box is upgraded and ready for use!
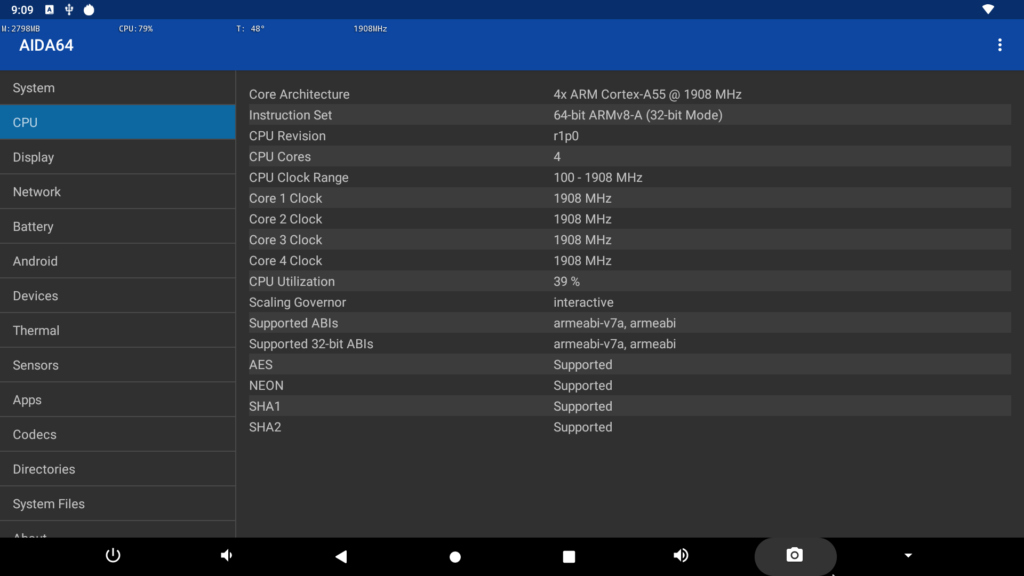
Aida64 show us that all 4 cores are working now:
Let’s see the performance of freshly updated Beelink GT mini 2
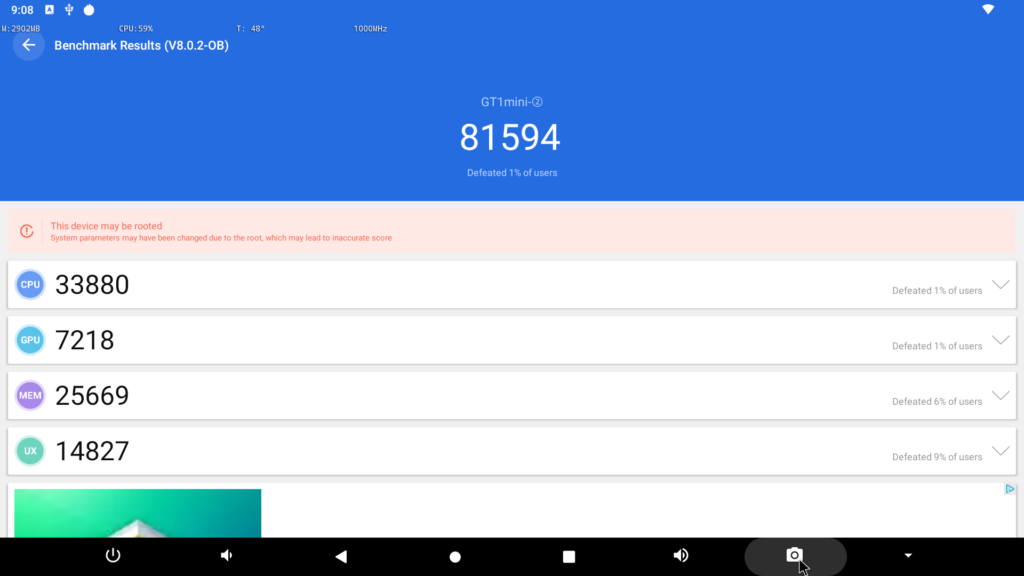
Anutu score:
As you can see, more than a 50% increase in the score!
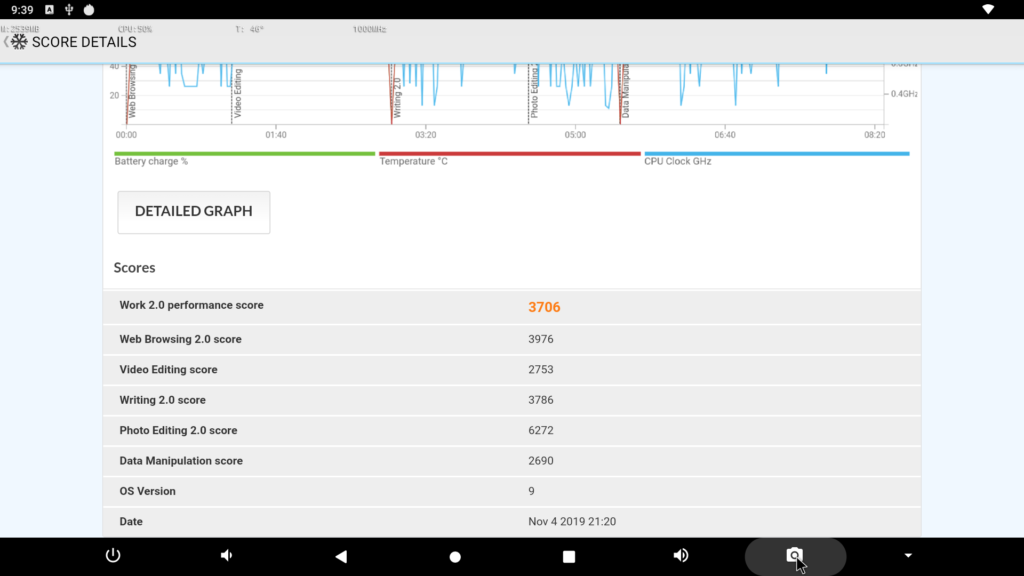
PCmark benchmark:
All is working great!
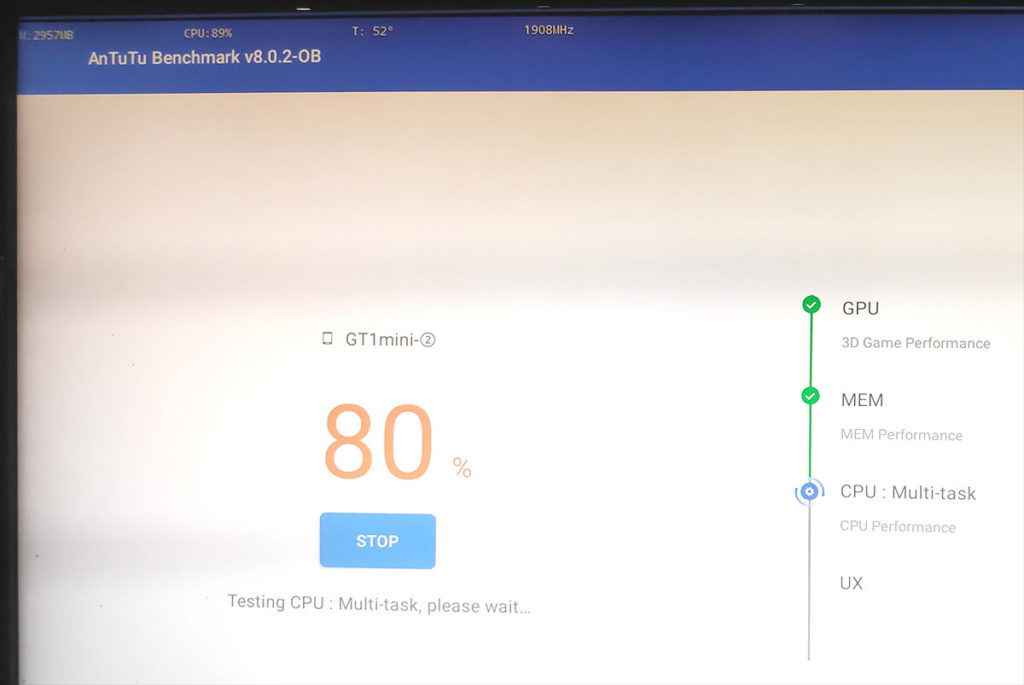
During the tests, I saw max temp of 52-53 degrees Celsius, but take note that I made thermal mode that lower about 5-10 degrees.
I will keep you updated for future firmware upgrades.
